I am so excited to share today’s project with you. This is such a fun and in my opinion, quite addicting diagonal cut. My super talented friend Kurstan Del Rosario showcased this in her live this past weekend and I absolutely fell in love with this. You can check out her cute Halloween creations HERE.
Today’s project I created this week from my Crafting Wednesday’s Facebook Live. I am using one of my favorite bundles out of the July-August Mini Catalog. The Penguin Place.
I absolutely love the versatility of this set and this designer paper is one of my absolute favorites from the Sale – A -Bration catalog. This paper can be used for Christmas, Winter, Birthday, Pick me up. And the best part I love about it is that it coordinates with the Penguin Place Bundle perfectly!!! And it is FREE with a $50 online order.
I thought it would be fun to cut out the penguin bodies using my returning favorite the Black Glitter Paper. I love how perfect this paper gives the penguin a little extra glam.
MEASUREMENTS:
Card Base: Basic White For the Birthday Card and Just Jade for the Christmas Card –4 1/4″ x 11″: scored at 5 1/2″ or folded in half
Layer: Misty Moonlight for the Birthday Card and Soft Sea Foam for the Christmas Card – 4 1/8″ x 5 3/8″
Designer Series Paper: Penguin Playmates (SAB PAPER) – 4″ x 5 1/4″; cut on the diagonal TIP: cut 2 coordinating pieces together.
If you missed my LIVE on how I created these cards I have posted it here from my YOUTUBEChannel so you can catch the replay. If you have not already subscribed to my Channel, I am having fun creating content each week and I will be creating additional content videos starting in September. I would love to get your support and subscribe to my channel.
if you would like to catch my weekly lives and participate in my weekly giveaways head on over to my Facebook Business Page. Turn on those notifications, so you will not miss anytime I post or do a video.
I want to thank you for stopping by today and catching my project. See you next time!!
Welcome to the Luv 2 Stamp Group’s 2021 Blog Hop! We are excited to share projects with you this year, we hope to inspire you to create beautiful new projects. Each month we will have a different theme based on the next month’s celebrations using Stampin’ Up! products.
When you have completed each post, be sure to scroll down to the bottom and you will see the list of Blog Hop Participants. You may either click on their name to go to their post or click the NEXT button. Happy Crafting and I hope you enjoy this month’s theme: Birthday. Which is perfect since it happens to fall on my Birthday Month!!!
Today’s Card features the You’re a Peach Suite which happens to be one of my absolute favorite suites out of the 2021-2022 Annual Catalog. The Designer Paper is probably one of the prettiest most versatile papers they have made in a long time.
To create the scalloped edge on this card, I used one of my favorite dies as well. The Scalloped Contour Die Set is one of the most versatile die bundles we have. And to create the perfect color for the peach I stamped the image in Pale Papaya and then used a sponge dobber and tapped the edge of the stamp in Flirty Flamingo before stamping the image. The leaves I stamped in Granny Apple Green and used the dies from the Sweet as a Peach Bundle. To finish off the project, I took Basic Peals and colored them with my Dark Calypso Coral Stampin’ Blends. That is one of my favorite Tips!!
PROJECT MEASUREMENTS:
Cardbase: Balmy Blue 4 1/4″ x 11″ Scored at 5 1/2″ or folded in half
DSP: 2″ x 5 1/2″ – Use Scallop Die from the Contour Scalloped Edge Dies
Calypso Coral Panel 3″x3″
Basic White 2 3/4″ x 2 3/4″
If you choose to put Basic White Panel on inside you can cut a piece of Basic White at 4″x 5 1/4″. This was a pretty light card base so I chose to leave it blank.
Thank you so much for stopping by today. I hope you enjoyed today’s project. Be sure to continue to hop along with my crafting friends for your Birthday Inspiration!!!
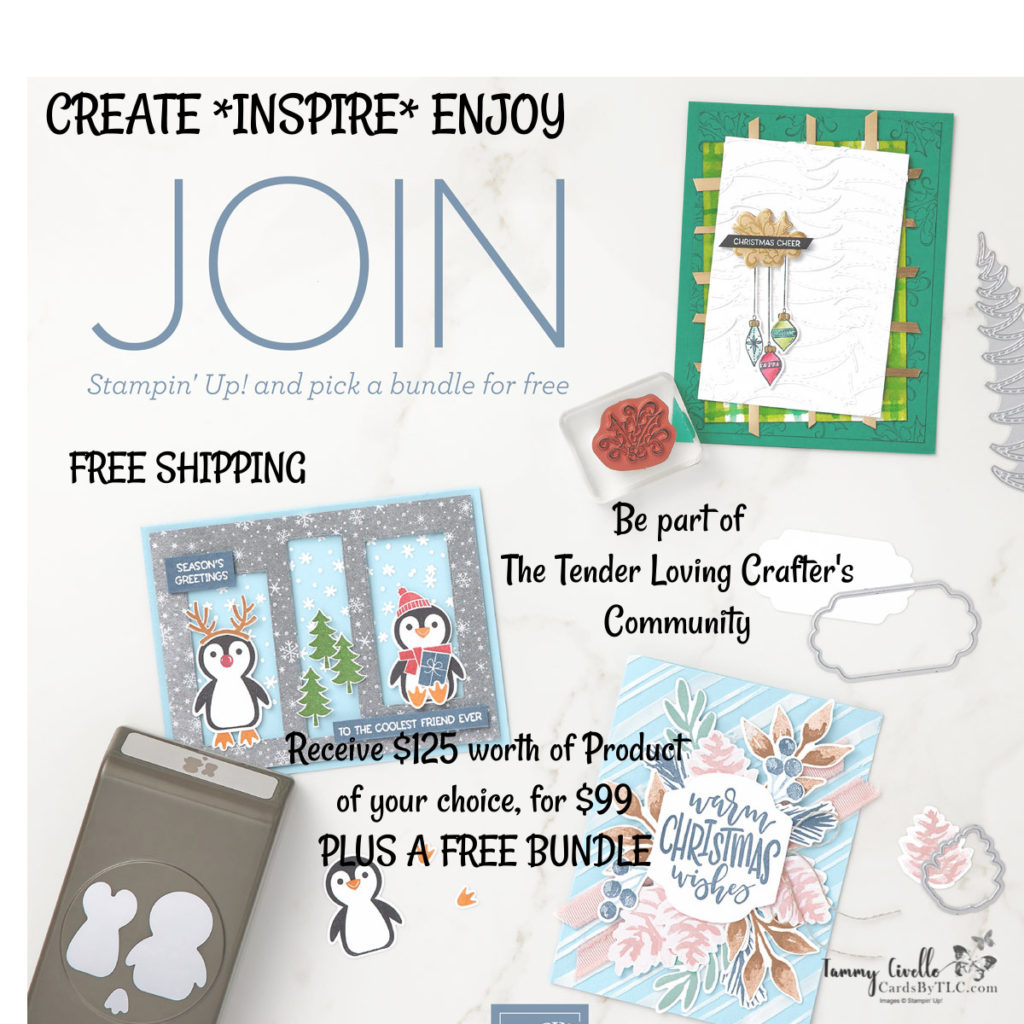
As a Demonstrator, I often get asked, What are the Perks of being a part of the Stampin’ Up! Community (Well, Family)? Let me answer that question here!!!!
Join the Fun with Stampin’ Up!
Receive EXCLUSIVE benefits of being part of the Tender Loving Crafters Family!!
SO FUN AND SO EASY!!!
As a crafter. I truly believe this is the best deal you can possibly have. There is NO RISK, NO PRESSURE, you are NOT required to hold classes or sell to anyone. WE LOVE HAPPY SHOPPERS!!!
TOP BENEFITS OF BEING A DEMONSTRATOR:
Customize your personal kit – $125 worth of amazing crafting supplies for $99
Receive a FREE Bundle of your choice from the List Below
FREE SHIPPING
FREE Paper Pumpkin Kit
Enjoy the 20% discount all to yourself if you wish!!! (or build a community of crafty friends and offer them a catalog and opportunity to shop with you)
See New products and order early ahead of all customers
Free Business Supplies so you can share your catalog with your friends.
I have been a part of this incredible company for almost 7 years, and have had the pleasure of working with demonstrators at all levels. The amazing friendships I have gained are simply priceless!!! The crafting community is an inspiration and amazing.
I would love the opportunity to work with you and have you be a part of the Tender Loving Crafters Family!!!! Let me help you on the path to making Stampin’ Up! be what YOU want it to be.
Should you have any further questions, please reach out to me by clicking HERE
I had so much fun creating this Painted Christmas Swing Card for you today using the Painted Christmas Suite from the Stampin’ Up! Jul-Dec 2021 Mini Catalog, (All Products available in my online store Tuesday, August 3, 2021)
The Swing Card Design allows so many fun creative ways to have fun images “swing” through the window. The pinecones used today are from the Christmas to Remember Bundle from the Painted Christmas Suite.
PROJECT MEASUREMENTS:
Base: Soft Succulent: 5 1/2″ x 8 1/2″ Scored at 4 1/4″ or folded in half
Insert : Basic White 5″x8″ Scored at 2″, 4″, 6″ Fold Accordion Style SEE PHOTO BELOW
Designer Paper Strip Pieces: Outside Strip 1 1/2″ x 5 1/2″ Inside Strip 1 3/4″ x 4 3/4″
Gold Foil Piece: 2 1/4″ x 2 1/2″ Embossed with Greenery Mini Embossing Folder
2″ Vellum Circle from the Layering Circle Dies
DETAILS:
Using the 3rd Rectangle from Scalloped Contour Dies, place Die in the middle of the front card base to create the window.
Stamp Sentiment on the 4th panel of insert
Adhere Inside DSP Piece to the 3rd panel
Adhered 1st Panel to the inside flap of the card front and Adhere 4th to the inside back portion of the card. (SEE PHOTO BELOW)
Using the Solid Pinecone Dies, Die cut 1 larger and 2 smaller in Early Espresso
Using the Outline Pinecone Dies Die cut 1 larger and 2 smaller in Gold Foil TIP: Before cutting the foil pinecones adhere a strip of the self-adhesive sheets to the back of the foil strip.
With stampin’ dimensionals pop up your pinecones to circle and adhere to your gold foil square
Adhere Outside DSP Strip about 1/4″ Away from the fold of the card. (SEE PHOTO ABOVE)
When adhering your gold square to the 2nd panel, be sure to only add adhesive to the right side of the square only otherwise your square won’t swing through the window.
The sentiment is the Merry Christmas from the new Christmas to Remember Set. ANOTHER TIP: The Sentiment was a little long for me and I did some surgery on the stamp and cut it in half. YES< It is perfectly fine to do this!!!
I really hope you enjoyed today’s project. I would love to hear from you in the comment section below what you thought about today’s project. Be sure to tag me on your social media I would love to see what you create.
Welcome to the Luv 2 Stamp Group’s 2021 Blog Hop! We are excited to share projects with you this year, we hope to inspire you to create beautiful new projects. Each month we will have a different theme based on the next month’s celebrations using Stampin’ Up! products.
When you have completed each post, be sure to scroll down to the bottom and you will see the list of Blog Hop Participants. You may either click on their name to go to their post or click the NEXT button. Happy Crafting and I hope you enjoy this month’s theme: Christmas In July.
I have a lovely non-traditional Christmas Poinsettia to share with you today. Although I really do the traditional red and green for Christmas, I have lately been doing non-traditional colors. I love this because I can change the sentiment out and use it for a winter Birthday!!! The dies I am using in today’s project are the Poinsettia Dies from our Annual Catalog along with Poinsettia Petals Stamp Set for the Sentiment.
PROJECT MEASUREMENTS/INSTRUCTIONS:
Card Base: Blushing Bride 4 1/4″x 11″ Scored at 51/2″ or in half
Die Cut Poinsettia Petals (See Die Cutting Tip in the image below)
Use Dauber and Blushing Bride ink to sponge edges to give your project a little pizazz
Sprigs Die cut in Pear Pizazz
Use Glue dots to layer petals and Stampin’ Dimensionals to attach sprigs and to give our petals dimension.
Stamp Merry Christmas Sentiment on Basic White Cardstock in Pear Pizazz ink.
Added 3 Basic Pearls to the center of Poinsettia Flower
Fussy Cut around sentiment
Stay tuned for another project in August to see a bonus project using the New Whimsy and Wonderful Designer Paper in the new August-December Mini Catalog. In the meantime enjoy hopping along with my other talented crafting friends in this Christmas In July Blog Hop.
I am so excited to bring back my Mini Catalog Paper Share. As a demonstrator, we not only get a sneak peek of the catalogs but we have the opportunity to pre-order products in advance. When I had the chance to see all the incredible Holiday Designer Papers, I knew I had to offer a paper share.
I for one absolutely love doing special Holiday 3D projects, as well as fun cards with designer paper. I love seeing things in catalogs or online, however, pictures do not do these papers justice!!! With my paper share, I offer the perfect sampling.
What is a Paper Share?
Do you want every single paper as I do? Especially for the Holidays? Well, this allows you to see, feel and use the paper before buying the full packs of your favorites! When you reserve a designer series paper share with me, I will order all of the new paper from the latest Stampin’ Up! catalog, cut it up, package it, label it, and reship it to you so that you have a sampling of all of the new papers listed in this post. This is usually about 1/4th the cost of purchasing all of the new paper packs yourself. This way you can see, feel, touch, and use the paper and reorder your favorites in my ONLINE STORE
Tammy Civello is an independent Stampin' Up!® demonstrator, and is solely responsible for the content on this website. Stampin' Up!® does not endorse the use or contents of any classes, services, or non-Stampin' Up!® products offered on this website.
Stampin' Up!® and the Stampin' Up!® box logo are registered trademarks of Stampin' Up! Inc.
All other product names, logos, and brands are the property of their respective owners. All company, product and service names used in this website are for identification purposes only. Use of these names, logos, and brands does not imply endorsement.
All text, images, artwork, designs, videos, and other content on this website, and any descriptions thereof, unless otherwise noted, are the intellectual property of Cards by TLC. You may use this content for your enjoyment, inspiration for your own projectrs, and not-for-profit personal use. Any other publication, distribution, sale, or other use of this content without the permission of Cards by TLC is prohibited.